Thursday, July 5, 2012

Mini Chocolate Ice Cream Cookies

These are a favorite summer treat in our house. I love the simplicity of them, and they even have some health value to them... note, I said "some." Made with natural ingredients, their a great go-to treat to make ahead and have on-hand.

Ingredients:
1 box Back to Nature Oatmeal Cookies
1 1/2 c Breyers 1/2 the fat All Natural Vanilla Ice Cream
1.5 oz Ghirardelli 60% Cacao Bittersweet Chocolate, chopped finely

Instructions:
Remove ice cream from freezer and let stand at room temperature for 5-10 minutes to soften. In the meantime, chop chocolate finely. Line a freezer-proof container with wax paper. Place 1 cookie face-down and scoop approximately 2 tablespoons ice cream onto cookie and top with another cookie, pressing slightly to flatten. Roll the edges of your cookie sandwich in chocolate to cover sides. Place in container and put in freezer to allow to firm-up.

*Yields 10 cookie sandwiches.

Friday, June 8, 2012

Family Wall Decor

Our family has lived in the same house for almost 7 years... And in those seven years, I have not figured out quite what my style of home decor to be. We've done some remodeling, mostly in warm earth tones with tile, paint, and furniture. But, I've always had this one wall that I couldn't figure out what to do with. It was blank for a while, then I changed the furniture around and hung some pictures, then I didn't like that, so I changed it back to blank, and so on.

Well, I'm thrilled to say I finally got some inspiration and did something about that wall. Within a few days and a lot of deal-searching, I ended up with this!


I wanted a wall to put personal pictures of our family on, along with our kid's favorite art projects, and attempt to blend-in the television. So, here's how it came about: I mounted our TV, found the ottoman/bench at Target, and went on a hunt for discount frames and wall art. I found most of the frames at TJ Maxx and got the metal wall art at Hobby Lobby during their 50% off sale. Overall, this cost around $250 and is a warm and welcoming focal point in our house.

My husband loves it, which is a blessing to me to see a good reaction from him. On that note, I've recently been updating and organizing/cleaning-out rooms in our house. I've been inspired by Sarah Mae (a blog I've been reading for several years) to make my home a blessing to those who enter it - including my own family. This gives me even more reason - and really a more fun reason - to keep it clean and looking nice (note: not perfect).

Saturday, June 2, 2012

Summer Fun in "Hot"lanta

It's summer and the heat is on! So, what better way to celebrate the heat, but head to "Hot"lanta?! And that's just what we did.

(Our family at Zoo Atlanta. - I love the giraffes in the background.)

We got home from a fabulous week-long family vacation, spending most of our time in downtown Atlanta. It was a trip to take in the sites. We found a great deal at CityPass.com and were able to see five of the main attractions Atlanta has to offer. From the Georgia Aquarium, World of Coca-Cola, CNN Headquarters, Fernbank Museum, and Zoo Atlanta, we definitely got our money's worth.

You can't see it, but our hotel was situated right between the two taller buildings on the right of this photo. We were in the center of it all, walked everywhere, and it was great!

The only downside to starting out your summer with a vacation is that you may think it all goes downhill from there. Not with us. We got home yesterday and already we had a fun day at our local pool playground celebrating the end of the school year with all of our church friends. The summer is already feeling busy, and though I do plan some lulls, we have a summer worth of fun - complete with swimming lessons, VBS, free summer movies at the theatre, and trips to the beach.

Since my kids have been in school this past year (and no longer homeschooled), I've missed having them around. I'm hoping to reconnect with them, have some fun, and continue teaching them about the Lord and walking with Him.

Hopefully, I'll fit some sewing into the summer. Right now, the project is to go through every room, organize, and clean. I've started with my bathroom and now I feel like I have a mini-spa feel every morning I wake up. It's wonderful! Oh, to have this feeling throughout my house...

Tuesday, March 6, 2012

NEW Burpies & Paci-Clips!

I am excited to begin my Etsy shop more full-time. I've added a couple of listings today (shown below) and will be adding many more options throughout the week. I'm in love with the fun designer baby items and have begun to make some really cute items for babies. I hope you like them too!

Here are two colorful burpies made with designer fabric over soft minky dot fabric. I LOVE them!

And of course, a matching paci-clip made with coordinating designer fabric and fits all pacifier styles.

If you are looking for some adorable burp cloths or pacifier clips, be sure to stop by my store at www.etsy.com/shop/SewWhatSteph. I can make these to make your baby decor style as well.

I hope you'll check it out and let me know what you think!

Sunday, January 8, 2012

Quilting Block #1 - Nine Block

I'm so excited to show you my first quilted block! Granted, this was an easy one. I changed it up a bit with a focal center block. My daughter helped me pick the fabrics and arrange them. Here's the process if you want to make your own Nine-Block. (I was working with my camera phone as I'm missing my normal camera downloading cord, so I'll apologize upfront for the grainy pictures.)

Here's what you need to get started...

You'll need 3 coordinating fabrics with nine squares measuring 5-1/4" x 5-1/4". I used four squares of two different fabrics and one square for the center fabric.

After you've cut your squares, lay out your pattern. Make sure that the fabric squares lay all the same way.

Begin by sewing one row together. You'll do this by taking one square as laid out above and sewing it to the next. I used a 5/8" seam. Continue this with the next square. You'll do this with each row separately.

When you're done, press your seams open and it should look like this.


Continue by pinning the top row to the second row front sides together (like so!) making sure the seams from Row #1 and Row #2 match up.

Here is what it looks like...

Pin the next two rows together front sides together and continue sewing Row #2 and Row #3 together.

Once you've sewn your three rows together, you'll want to press the backside seams open. It will look like the above picture.

And, "Ta-Da!" here's the finished block. I love the centered "coffee" square. This block represents me in so many ways. I love pink, polk-a-dots, geometric designs, and of course, Coffee! This project took a quick one hour from cutting to finished product.

Saturday, January 7, 2012

Quilting Blocks - Part 1

So, as part of my new year's resolutions, I am challenging myself to create a new quilting block each week for the month of January for a total of 4 weeks - maybe longer, but I'm starting with January so as not to overwhelm my resolutions. Clearly, I'm already behind, but I've picked an easy block to start with and should have it completed by tomorrow. I'm great at starting things and not so good at finishing. Here's the super simple Nine-Patch block I'm starting with.

I'm using 2 alternating fabrics for a total of nine 5-1/4" squares and I'll be sewing using a 5/8" seam throughout to form a 12-inch x 12-inch total quilting block. Since I'm starting at this size, all of my quilting blocks will need to be this size. (That's more of a note to myself!)

If you'd like to join with me in quilting a block per week, please do! I love working alongside people... even if it's online. Maybe we can share pics. Eventually, my goal is to create a sampler quilt with all of my blocks.

Thursday, January 5, 2012

Sew Crafty Sites

I wanted to post about super simple straight-stitch projects for all you beginners out there. (Wow! That wasn't meant to be a tongue twister.) Here are a few projects that you can whip up in a day and give as gifts or keep for yourself!

SkipToMyLou is a favorite blog of mine. She focuses on another blogger, Hilani who wrote a thorough tutorial on how to make these great coasters. Click HERE to learn how you can make them too.


Next, I found these adorable curtains. Since curtains are sewn by the size of your window, it's hard to do a tutorial on measurements. Basically, you want to measure your window's width and double it for a fuller curtain. Go by the length and add a few inches for hems. How's that for a tutorial?! These curtains were made by TheHappyHousewife. Check out her post HERE.


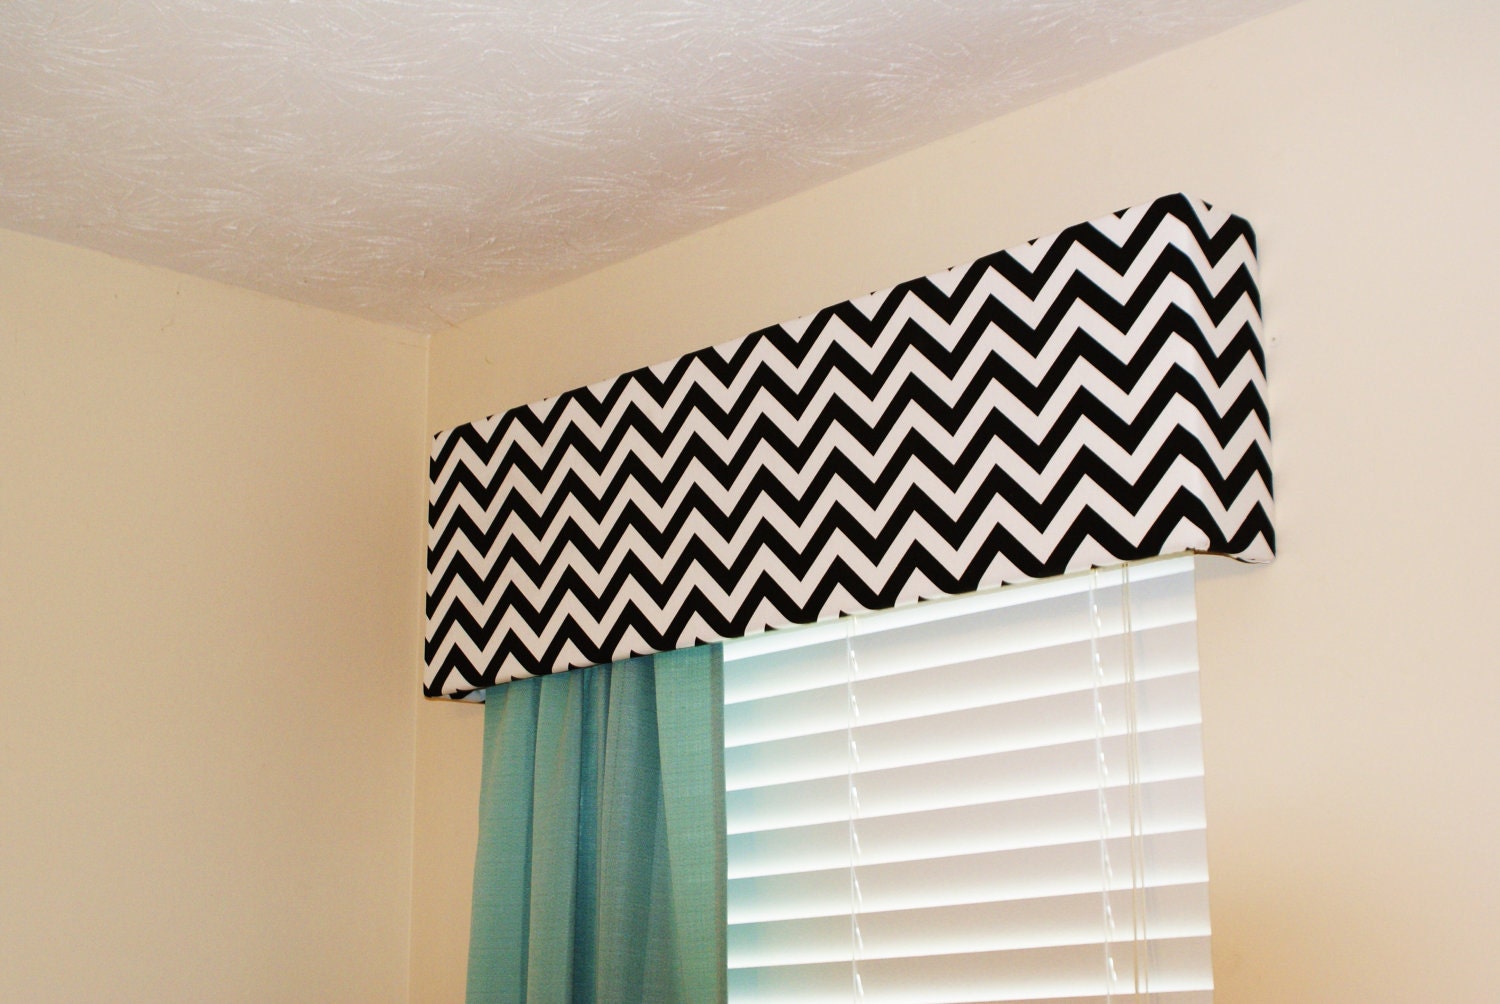
And finally, keeping with the curtain idea, I fell in love with these window cornices. I don't have a tutorial for them, but I'm determined to make a couple for my living room windows. They just seem to need something... and I think this would be a simple fix. Be looking for a tutorial soon...