Wednesday, July 13, 2011

Patchwork and Ruffles!

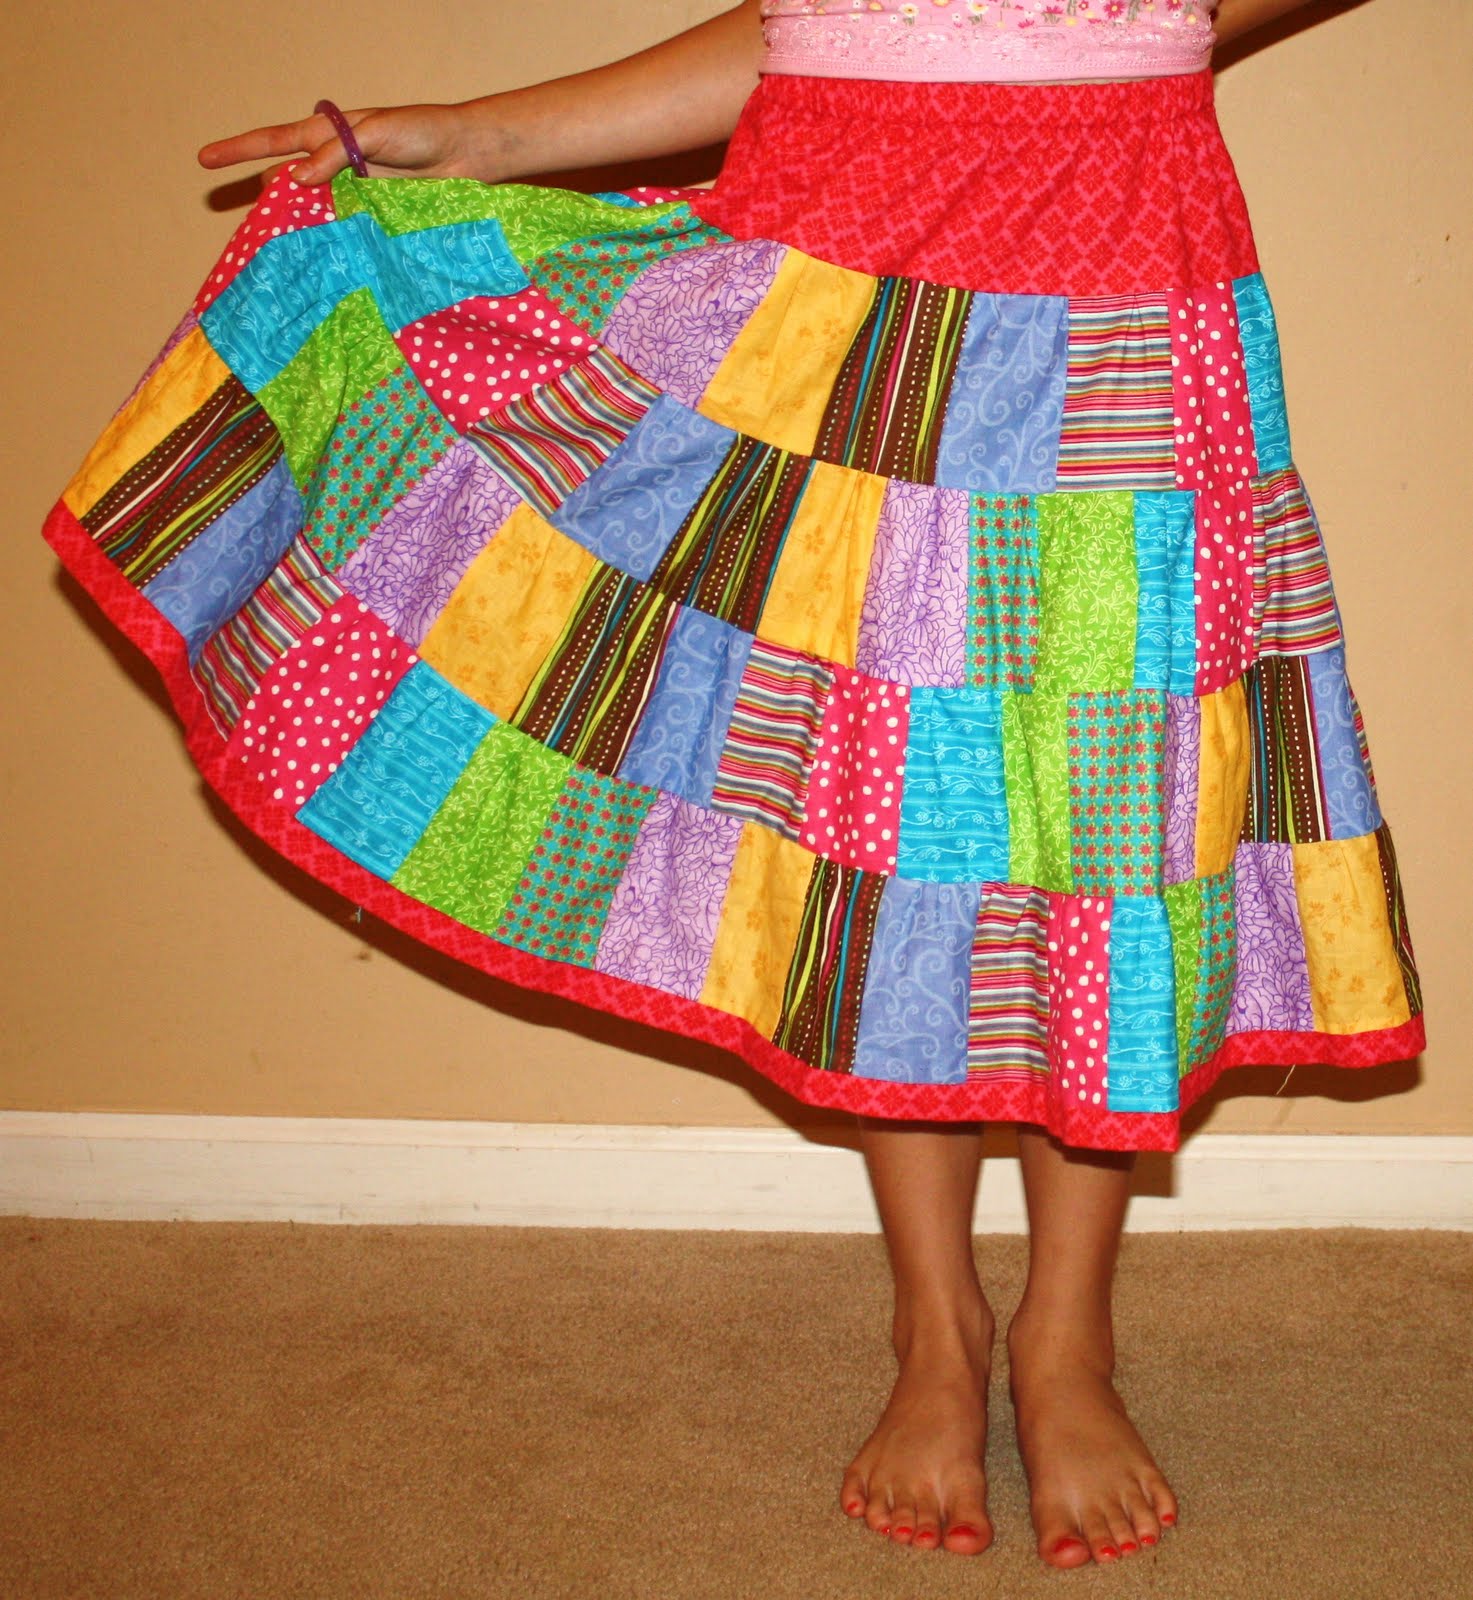
I have really begun to enjoy patchwork sewing. Recently, I was inspired by a shopping trip in which I saw a beautiful patchwork skirt that my daughter fell in love with. I know I'm not the only one to find something I love and say, "I think I could make that!" And so I set out to create this skirt! Here's the finished project.

Ignore the little threads on the bottom. The perfectionistic side of me needs to go get a pair of scissors and cut those off...

My daughter loves how it flows and has worn this skirt for the past 2 days - with exception to bedtime. In our house, it truly comes down to the "twirl factor". That is, does the skirt make a beautiful twirly movement when you spin in a circle. If it does, it's a beautiful skirt. And I'm happy to say that the twirl factor with this skirt was a winner!

(You'll notice that I used mostly fabric I've been using lately. I'm slowly building up my fabric collection... and am in need of some organization of it too!)

Tuesday, May 10, 2011

Sew Crafty Sites

I love to see all the fantastic ideas people come up with! I've decided to post about all the amazing ideas I come across on other blogs as well. If you blog and would like to share a creative masterpiece on SewWhatSteph.com, please let me know.

Here are the finds this week. I hope you enjoy them as much as I do.

This green lizard made by Abby over at WhileSheNaps is about the cutest lizard I have ever seen. From the green herringbone fabric to the spikes down his back, Abby has a great eye for detail. My 4-year-old son would absolutely fall in love with this lizard! He has a thing for lizards and loves to play with them outside. I think the lizards think of it more as torture... I often have to remind him that he's a lot bigger than they are.

Next up is this cuter than cute ruffled apron made by BayouBags. She even directs you to the tutorial she worked off so that you can make one for yourself! LOVE it!

And finally since summer is in the air here in Florida, I can't help but feature a practical and useful sunglasses case by SewFantastic. Complete with a thorough tutorial, Terri shows you just how to make your very own!

Monday, May 9, 2011

I'm inspired! Summer projects...

We have been a homeschooling family ever since I taught my first daughter how to read, and I've loved having my kids home with me (most days!) ever since. However, we have found that there is a season for everything, and have made the decision to enroll our 3 children in a Christian school next year. We were blessed to be able to do so and are excited about a new routine for our family.

My hope is that with all the changes going on in our house, I will also be able to sew more. I've been looking forward to some projects I can't wait to get my hands on. Here's a taste of what's to come... and maybe some tutorials too!

I am always inspired by the amazing creations on Etsty.com. These ladies (and gents) are so talented! Dance2Create has a favorite lunch bag that I adore. I've never needed to pack lunches for my kids on a daily basis with them being home, so I'm excited to see if I can recreate this bag with my own flare. She's got other great lunch bag items and adorable fabrics to choose from. Check her stuff out HERE.


Another idea I have rolling around in my head is this cute crayon roll-up. I've seen these before in boutique shops and thought they looked pretty simple to make. I just love the fabric of this Mini Crayon Roll from lar1203 on Etsy.com. So, this will be a definite project for me to figure out this summer. I can imagine my kids taking these on road trips or just having their own handy pack of crayons.


And finally, one more simple sewing idea I have is this cute Wristlet Key Fob. I'm looking forward to finding some fun fabrics and making these as gifts.

These are just a few of the projects I'm excited about trying out this summer! If you have any suggestions for simple sewing ideas, let me know in a comment below. I'd love to hear from you.

What I've been working on...

I know it's been a while since I've posted a new sewing project, so I thought I'd show you what I've been working on for Mother's Day. Throughout the years, my mom has put together so many Around-the-World quilts for me, my sister, and countless friends and family. I remember as a child watching her cut out all the squares, then lay them out on the living room floor, and finally sew them all together. I never thought I'd make a quilt as nice as hers. And until now, I had never tried.

It just seemed to fit that my mom should get the very first quilt I've ever made. With 7 grandchildren (3 of them mine), she's been wanting a blanket that would represent her grandkids. I thought about it and decided to make a quilt - my first ever - for her Mother's Day gift. I literally made this going by what I watched her do so many times before. I went to JoAnn's and bought the fabric with help from my children - that was a fun trip! I used a favorite throw blanket to determine the size I wanted, then went from there. I use a rotary cutter with cutting board that makes the cutting go SO much quicker.

I did a couple of searches on YouTube.com to to learn the best way to sew the binding around the finished quilt. (Look below for those links.) and ta-da, this is the finished project!

Click on image above for larger size.

My mom has been out of town visiting her mom for Mother's Day, so she won't actually open this gift until today. Hopefully, she won't stop by SewWhatSteph.com before she opens it... :)

The picture didn't come out quite as well as I would've liked, but here's some of the details of the quilt. Since I am not super skilled in hand appliqueing, I chose to use a permanent fabric paint pen to write the names and birthdates of each grand child. Then at the top, I quoted a verse from one of my favorite chapters of the Bible (Proverbs 31) that states, "Her children arise and call her blessed." Proverbs 31:28. I chose some colorful and bright fabrics because my mom is not a stuffy kinda lady and I wanted her to smile every time she looked at the blanket. These fabrics are bright and cheery, so I thought what better way to brighten her day?! I finished it off with yarn ties - again, a simpler method my mom used often.

In case you haven't figured it out yet, my mom is very special to me. We are so much alike and often think the same way. Throughout 2009, she went through a long process of breast cancer treatments. I never understood how hard that was until I saw her go through it. I appreciate my mom so much more today than ever. More importantly, I saw her walk with God grow immensely throughout that time. She is a true woman of God and her faith and love in God has blessed me beyond measure. I do indeed "arise and call her blessed!"

YouTube.com Links:
  • How to Bind a Quilt: I used this video to help me understand the binding method, but only as a guide. If you're new to quilting, hopefully this helps.
  • The Slip Stitch: I slip stitched the back of the binding. Since I had never done this before, I again looked to YouTube for a demonstration. This took a little longer than I liked to complete, but I loved the finished product!

Wednesday, September 8, 2010

Patchwork Drawstring Mini-Tote Tutorial

I hope you enjoy this tutorial. I've adapted it a bit from the original.


See below for easy to follow steps to make your own:

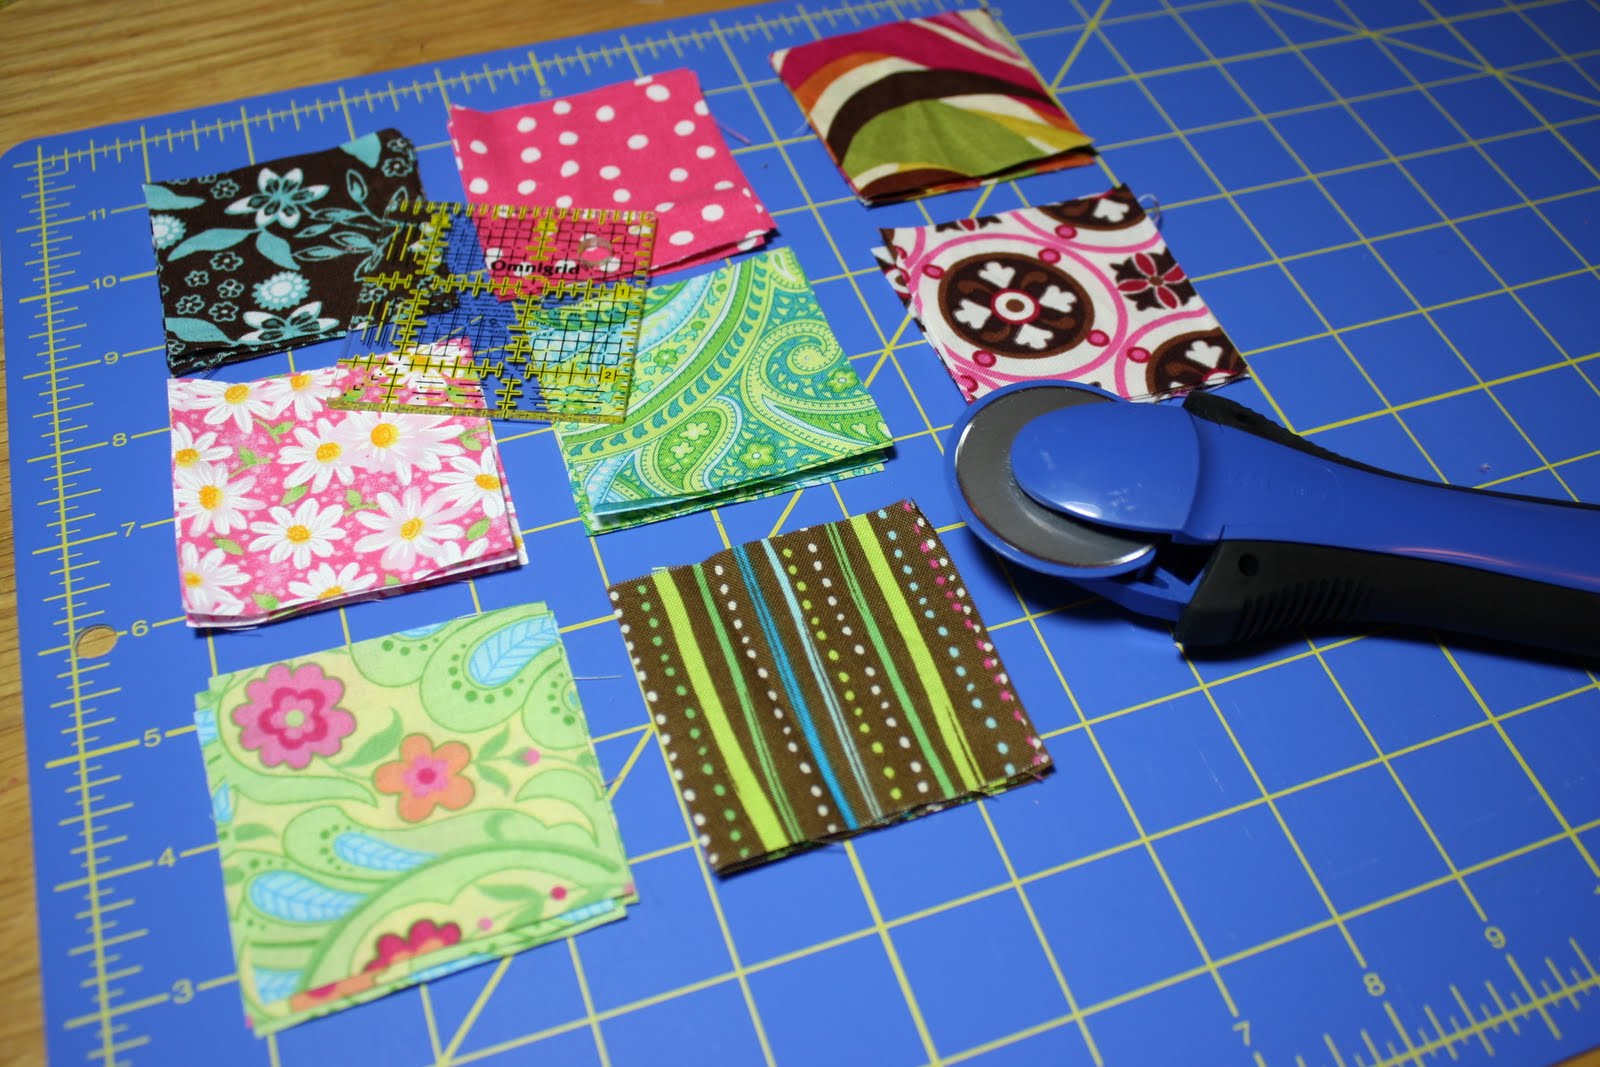
Cut out 32 squares measuring 2 1/2" x 2 1/2". I used a 2 1/2" x 2 1/2" quilting square, which makes your life much easier with this pattern. You can use 8 or 16 different fabrics. I chose 8 for my design and used 2 of each per side.


Once you've cut your squares, you'll want to lay out a pattern that you're happy with. This is one side of my tote. It is 4 squares x 4 squares.


Next, start putting it all together. Pin your first 2 squares together and simply straight-stitch. You'll continue this for each row.

Once you have sewn each row, you'll need to press with your iron the seams in one direction, going either direction every other row. There is a visual of this in 2 pictures.


Once your rows are stitched together, place rows face side together and straight stitch.


Once you're done with one side, it should look like this. I've pressed my seams to keep it flat.


Here are the finished 2 panels.


Next, place the panels front sides together and stitch 3 sides, leaving one side open for opening.


You'll want to cut your corner on the diagonal so that they turn out nicely.


Cut 2 pieces of fabric 8 3/4" x 2" for your drawstring lining. You'll also cut your inside lining (remember this is reversible, so choose a cute fabric) with 2 pieces of fabric at 8 1/2" x 8 1/2".


Start by sewing a straight stitch along 3 sides, leaving the top open and also leave an opening at the bottom for you to pull and reverse bag at the end. (See step below.)


Press drawstring lining ends at 1/4", then fold and press again 1/4" seam.


Sew this to the outside of quilted panels. Keep your stitching close to edge (less than 1/4" seam) to allow room for drawstrings to move freely.


I missed a step here... You will then reverse quilted bag and place right-side-out inside lining and sew together - again staying close to edge.


Remember that opening you left at the bottom of the inside lining? Now's the time to start pulling everything through. Once you've turned it right side out, slip stitch the opening closed.


Here is your finished product. All you do now it take some drawstring (2 pieces measuring 28") and push it with a safety pin through one side then to the other. Knot together then take your other drawstring and start at the other end.


Ta-da! You have a cute little patchwork bag.

Saturday, August 21, 2010

Patchwork Drawstring Mini-Tote

I am so excited about this adorable mini-tote bag! My kids went nuts over them. It's reversible and great for carrying around all of their treasures.

Click HERE for a tutorial on how to make your own!

Welcome!

I'm so excited to start this new blog about my sewing adventures! I hope to be able to teach you how to sew in simple methods that will get you excited about sewing more.

So, come along with me as I begin "Sew What Steph"!