I hope you enjoy this tutorial. I've adapted it a bit from the original.

See below for easy to follow steps to make your own:
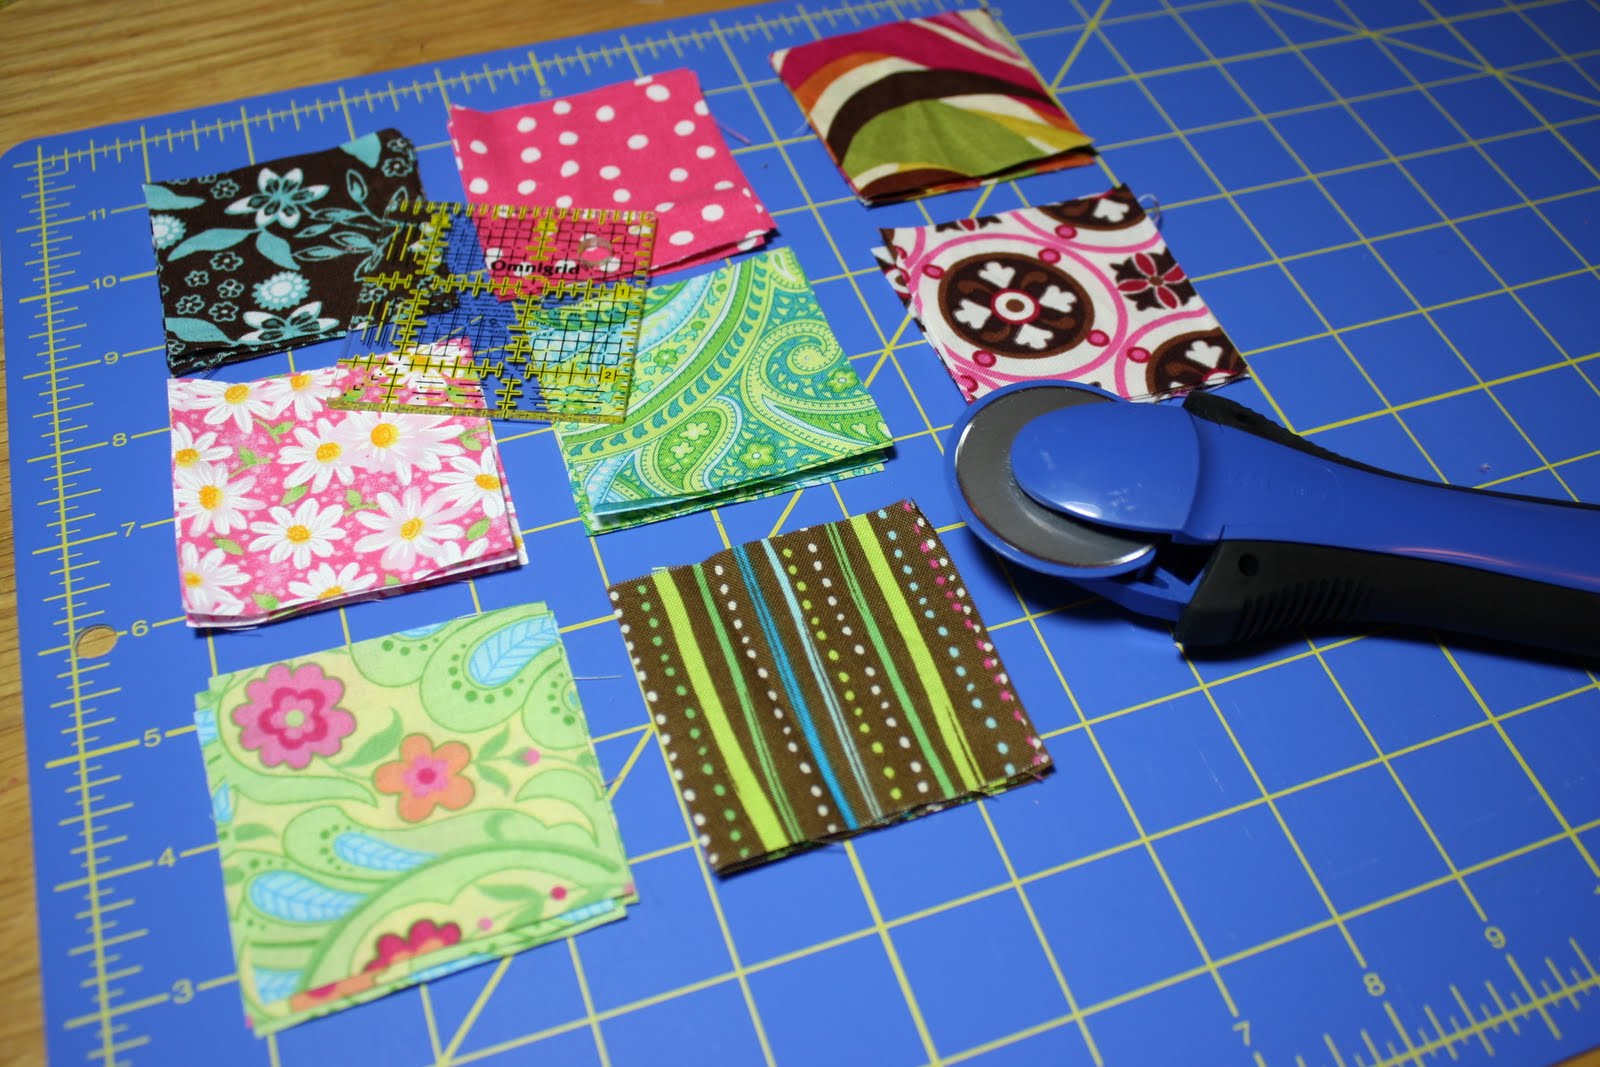 Cut out 32 squares measuring 2 1/2" x 2 1/2". I used a 2 1/2" x 2 1/2" quilting square, which makes your life much easier with this pattern. You can use 8 or 16 different fabrics. I chose 8 for my design and used 2 of each per side.
 Once you've cut your squares, you'll want to lay out a pattern that you're happy with. This is one side of my tote. It is 4 squares x 4 squares.
 Next, start putting it all together. Pin your first 2 squares together and simply straight-stitch. You'll continue this for each row.
Once you have sewn each row, you'll need to press with your iron the seams in one direction, going either direction every other row. There is a visual of this in 2 pictures.
 Once your rows are stitched together, place rows face side together and straight stitch.
 Once you're done with one side, it should look like this. I've pressed my seams to keep it flat.
 Here are the finished 2 panels.
 Next, place the panels front sides together and stitch 3 sides, leaving one side open for opening.
 You'll want to cut your corner on the diagonal so that they turn out nicely.
 Cut 2 pieces of fabric 8 3/4" x 2" for your drawstring lining. You'll also cut your inside lining (remember this is reversible, so choose a cute fabric) with 2 pieces of fabric at 8 1/2" x 8 1/2".
 Start by sewing a straight stitch along 3 sides, leaving the top open and also leave an opening at the bottom for you to pull and reverse bag at the end. (See step below.)
 Press drawstring lining ends at 1/4", then fold and press again 1/4" seam.
 Sew this to the outside of quilted panels. Keep your stitching close to edge (less than 1/4" seam) to allow room for drawstrings to move freely.
I missed a step here... You will then reverse quilted bag and place right-side-out inside lining and sew together - again staying close to edge.
 Remember that opening you left at the bottom of the inside lining? Now's the time to start pulling everything through. Once you've turned it right side out, slip stitch the opening closed.
 Here is your finished product. All you do now it take some drawstring (2 pieces measuring 28") and push it with a safety pin through one side then to the other. Knot together then take your other drawstring and start at the other end.
 Ta-da! You have a cute little patchwork bag.